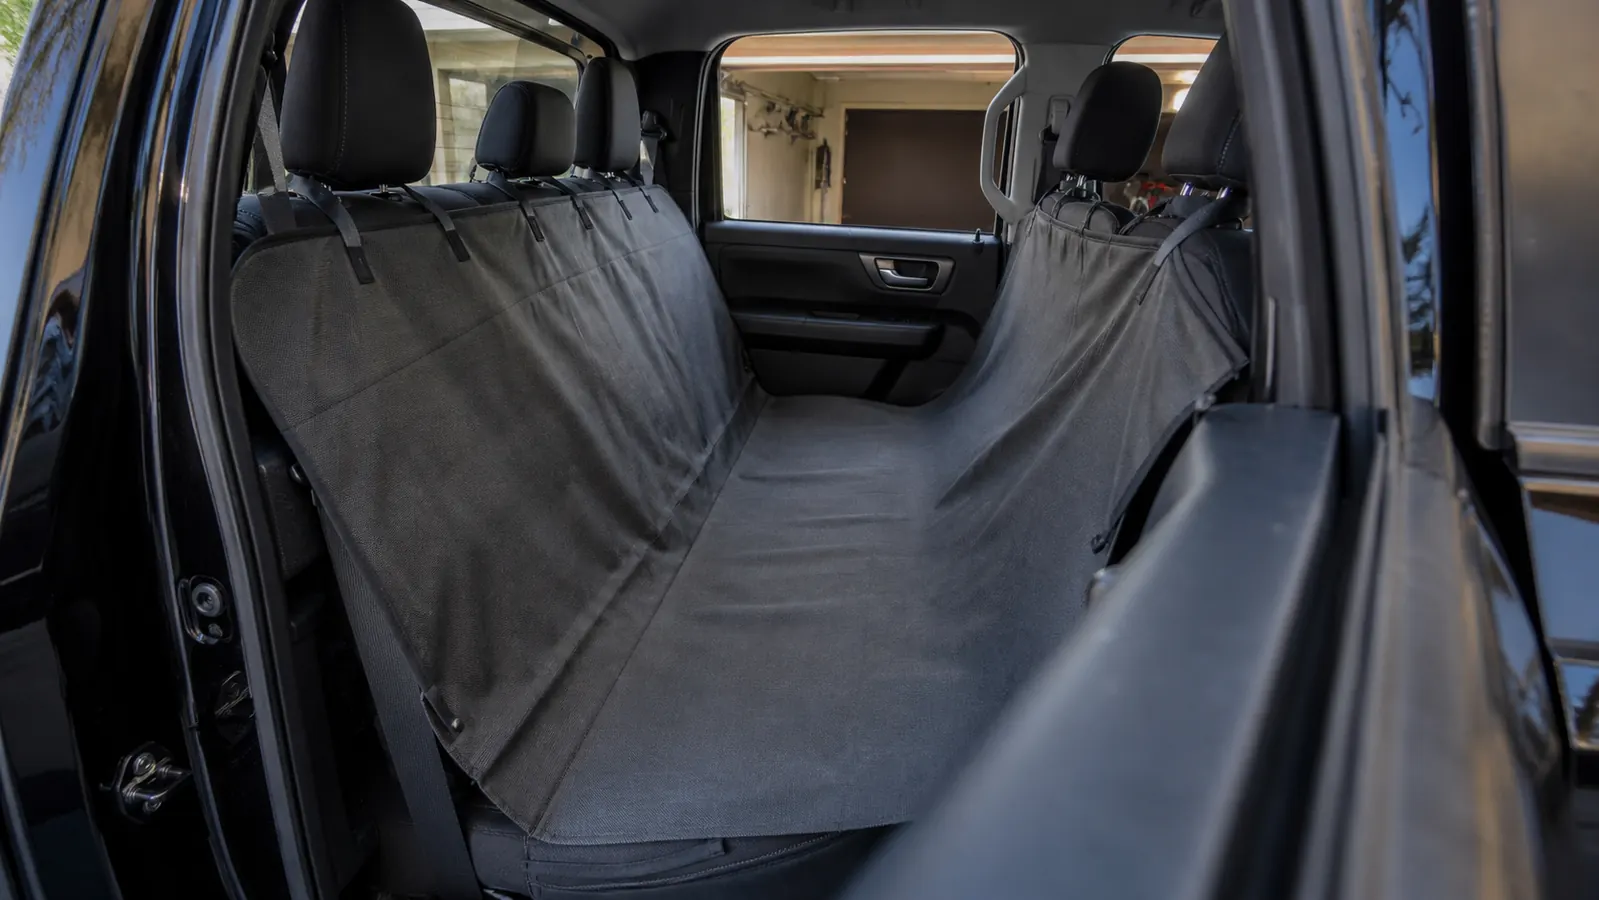
If your dogs ride in the back seat of a pickup like mine do, you already know the drill: muddy paw prints on the upholstery, hair ground into the fabric, and the constant worry about them sliding around on a turn. I put off buying a cover for months because I figured they'd tear it to shreds. Then I tried the URPOWER hammock cover, and the install turned out to be a ten minute job. Here's exactly how I did it, including the mistakes I made along the way so you can avoid them.
The whole reason I picked this cover is that it straps to the headrests and the seat belt anchors, so it doesn't move when Tucker plants his 70 pounds on it. My other option was a bench cover that just drapes, and I knew that would end up on the floor by the end of the first drive. The hammock design also gives Daisy a little nest on the seat while still protecting the back of the front seats. If you're ready to keep your upholstery clean without fighting a loose tarp every time you open the door, here's the install, step by step. The seat in my truck is a bench style, so I needed a cover that could handle a 70-pound dog planting his feet and a 25-pound dog curling up, sometimes at the same time.
Get the URPOWER hammock cover for your back seat
It takes ten minutes to install and it'll save your upholstery from mud, hair, and claws.
Amazon Check Today's Price on Amazon →Step 1: Unpack and lay the cover flat on the seat
The box arrives with the cover folded into a compact rectangle. Unfold it on the driveway or the garage floor first, not on the seat, because the fabric is thick and you want to see which side faces up. The URPOWER cover has a waterproof backing and a soft fleece top. I laid it out on the ground and smoothed out the wrinkles with my hands, then flipped it so the fleece side was facing me.
You'll see four straps with metal clips on the top edge and two longer straps with hooks on the bottom. Don't try to route them yet. Just let them hang loose. I also found a small pouch with the seat belt buckles, but those are for the later step. Take a minute to check the stitching along the edges, especially where the straps attach. Mine had reinforced stitching that felt solid enough to hold up to Tucker's claws.
Before you move on, measure the back seat of your truck. On my pickup, the seat is 54 inches wide and the distance between the headrest posts is about 20 inches. Write those numbers down or just remember them, because you'll need them to adjust the straps later. I also marked the center of the cover with a piece of tape so I could line it up with the middle of the seat. It sounds fussy, but it saved me from having to redo the whole thing after the first drive.
Step 2: Attach the top straps to the front headrests
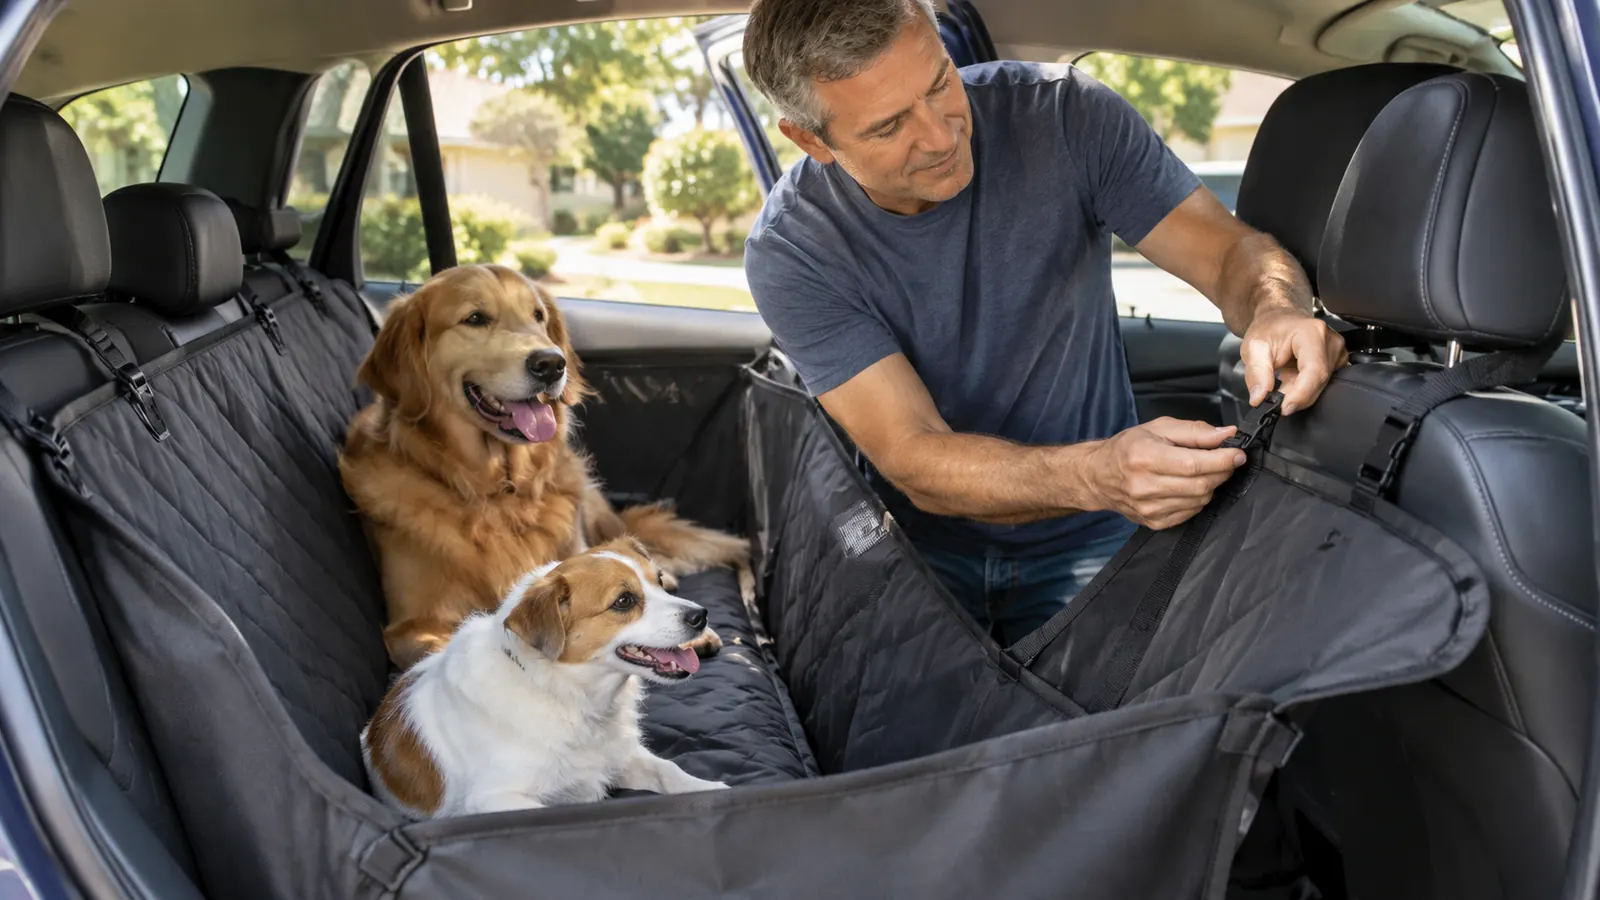
Slide the headrests up a few inches so you have room to work. The URPOWER straps loop around the metal posts and clip back on themselves. I started with the passenger side because Tucker usually hops in first. Thread the strap around the headrest post, then click the buckle closed. Pull the strap snug, but not so tight that you can't adjust it later. Do the same on the driver side.
One thing I learned the hard way: if you have a pickup with a bench seat, the headrests might be fixed. On my truck they pop off with a button on the side. If yours are fixed, you can loop the straps around the headrest itself and clip them together behind it. The cover will still stay put because the seat belt anchors hold the bottom. Don't skip this step, because the top straps are what keep the cover from sliding forward when the dogs shift.
The first time I installed a cover, I attached the straps in the wrong order and had to take everything apart. This time I worked front to back: headrest straps first, then the seat belt anchors. I also made sure the clips were facing the same direction on both sides so the cover hung evenly. It took me about two minutes per side, and the whole top row was done before the dogs even noticed what I was doing.
Step 3: Route the bottom straps through the seat belt buckles
Now go to the back of the seat and find the seat belt buckles. On my pickup there are two buckles on the back wall, one for each side. The URPOWER cover has two long straps with hooks on the ends. Thread each hook through the buckle opening and then clip it onto the strap itself. The idea is that the cover hangs like a hammock between the two buckles, so the seat is protected from side to side.
You want the straps to be tight enough that the cover is taut, but not so tight that it pulls the buckles out of their mounts. I adjusted mine so there was maybe an inch of give when I pressed down on the center. The first time I did this, I made them too loose and the cover sagged, which meant Daisy slid into the gap between the seat and the door. It took me an extra five minutes to fix, so take the time to get it right now.
A useful trick is to thread the hook through the buckle from the inside out, then clip it back on the strap. That way the hook sits flat against the seat back and doesn't poke into the dogs. I also wrapped a little duct tape around the metal hook to soften it, though the cover comes with a fabric sleeve that does the same job. If you have a truck with plastic trim, check that the hook doesn't scratch it when you close the door. I also checked the buckles after a month and they were still tight.
Step 4: Adjust the hammock straps to fit your back seat
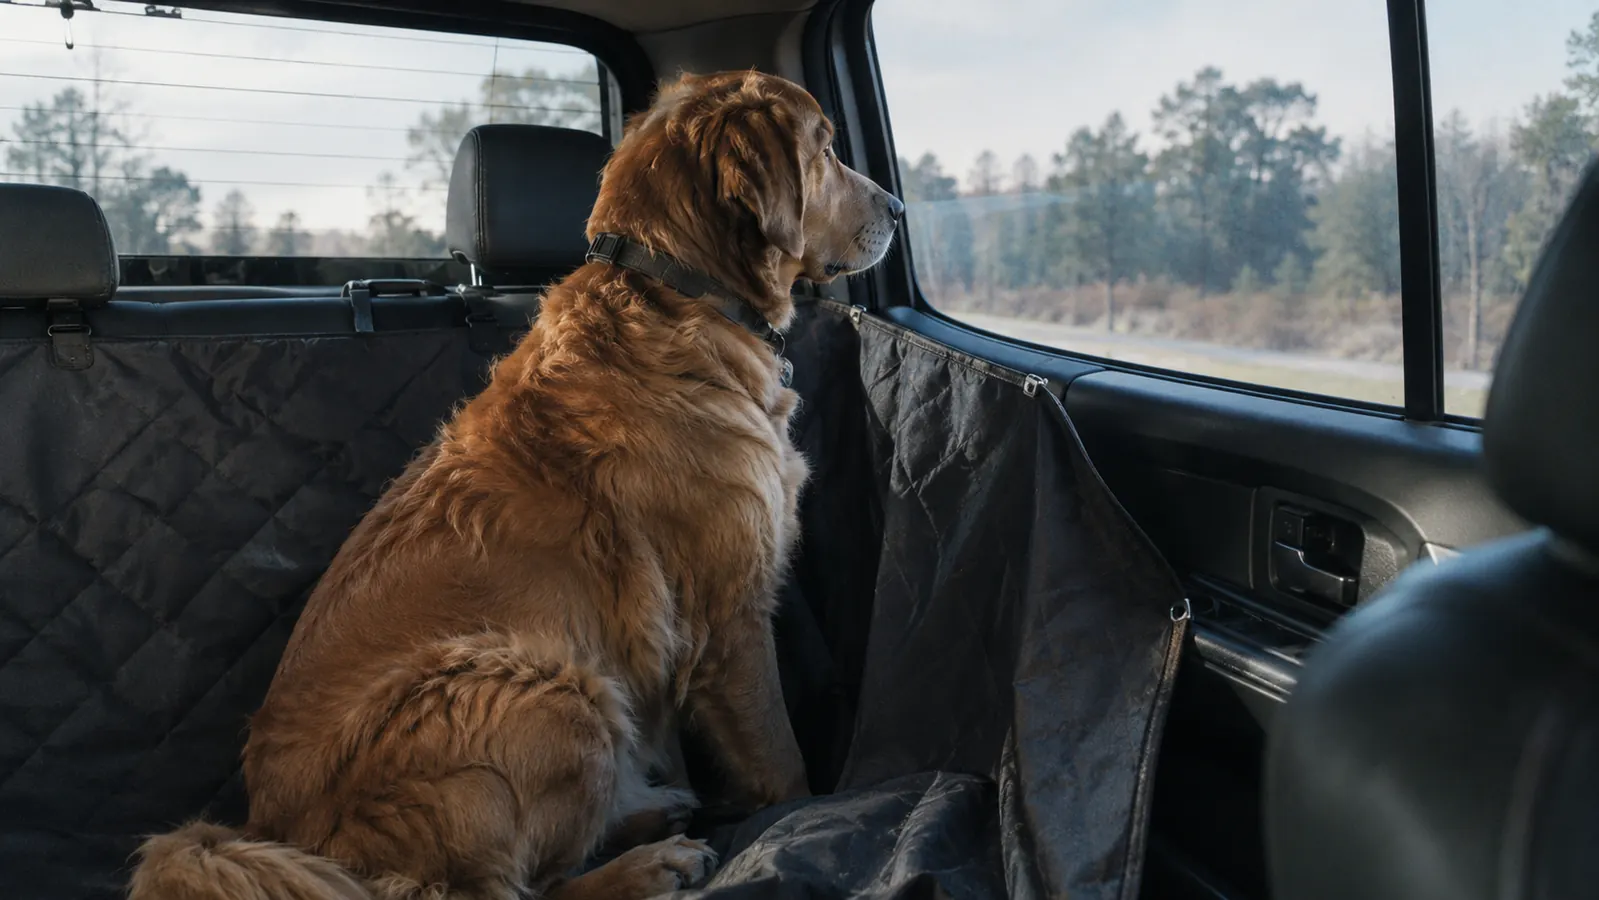
The URPOWER cover comes with two adjustable straps that go from the headrests down to the seat belt anchors. These are what create the hammock shape. On my truck, the back seat is about 54 inches wide and the headrests are about 20 inches apart. I pulled the straps so the cover dipped gently in the middle, just enough to give the dogs a natural spot to sit without sliding off the sides.
The key is to make the center of the cover sit at the same height as the seat itself, not lower. If it hangs too low, a small dog like Daisy will sink into a pocket and might get carsick. If it's too high, a big dog like Tucker will have to climb over the sides. I ended up adjusting mine twice. Start with the straps barely snug, then put a hand on the center and push down. If it moves more than an inch, tighten both straps evenly.
I found that the straps have a tendency to slip if they're not locked into place. The URPOWER cover has a plastic adjuster that you can slide to shorten or lengthen the strap. Once I had the height right, I pulled the adjuster tight and it stayed. I also checked the straps after a week of daily driving, and they hadn't moved a bit. That was the first cover I've owned that didn't need constant re-tightening. The adjuster has numbered marks, which makes it easy to set both sides equally.
Step 5: Test it with your dogs before you drive
The last step is the one most people skip, and it's the one that saves you from a mess on the highway. Put both dogs in the back seat and watch what they do. Tucker immediately planted his front paws on the center and turned around a few times. Daisy hopped up and curled into the hammock's dip. I gave them a minute to settle, then opened and closed the door a few times to make sure the cover didn't shift.
Then take a short drive around the block. I did this on a Sunday morning when the streets were empty. Watch for three things: the cover sliding forward when you brake, the dogs sliding sideways on turns, and any straps that come loose. My first test drive revealed that the passenger side headrest strap had worked itself a little loose, so I pulled over and snugged it up. After that, the cover stayed put for the next six months, through daily rides to the park and a long trip to the vet.
One thing I didn't expect was how much quieter the ride got once the cover was properly installed. The hammock kept Tucker from bracing his feet against the back of the front seat, so there was less thumping on bumps. Daisy also seemed more relaxed, probably because she had a soft, secure spot instead of sliding on the leather. If you have a dog that gets anxious in the car, a well-fitted cover can make a bigger difference than you'd think. I also found that the cover made it easier to vacuum the seat, because the hair stayed on the fleece instead of embedding into the fabric.
What Else Helps
A few extras make the install even easier. I keep a rubber mat on the floor under the cover to catch mud that slips through the gap between the seat and the backrest. The URPOWER cover is waterproof, but the floor isn't, and a mat costs a few dollars. I also bought a seat belt guide for the dogs, so they're clipped in while we drive. The cover has openings for the seat belt buckles, so you can route the belts through without removing the cover. And if your dogs shed a lot, a lint roller in the glove box handles the fur that ends up on the sides. For longer trips, I put a small towel over the center of the cover to catch drool, and I keep a spray bottle of vinegar water in the door pocket to spot clean the fleece between washes. The cover itself is machine washable, which is a huge plus. I throw it in the wash on a gentle cycle and air dry it, and it comes out looking like new. The straps are removable, so you don't have to worry about them tangling in the washer. I've washed mine about a dozen times over six months, and the stitching still looks solid. One thing I learned: don't use fabric softener, because it can break down the waterproof backing. A simple detergent works fine. If you have a dog that drools, keep a cloth in the door pocket for the inevitable slobber. And if you park in the sun, a sunshade for the windshield helps keep the cover from getting too hot, though the fleece stays comfortable anyway. The cover also makes it easier to vacuum the seat, because the hair stays on the fleece instead of embedding into the fabric. I use a shop vac with a brush attachment and it takes about two minutes to get the seat clean. If you're the type who likes to keep the truck spotless, this cover is a huge help.
I've had this cover on my truck for six months and it hasn't moved an inch, even with a 70-pound dog and a 25-pound dog climbing all over it every day.
Ready to keep your seats clean?
The URPOWER hammock cover installs in minutes and holds up to daily use. Grab yours now.
Amazon Check Today's Price on Amazon →